Table of contents
Discover the Delight of Gipfeli: Swiss Crescent Pastries
The journey of diving into the world of Swiss pastries begins with the delightful and savory Gipfeli. These crescent-shaped pastries hold a special place in Swiss culinary tradition, offering a unique blend of flavors and textures that truly captivate the senses. In this article, we’ll delve into the charm of the classic Gipfeli recipe, exploring its rich history and the joy of making these pastries at home.
The Charm of Swiss Pastries
Swiss pastries have long been celebrated for their exquisite craftsmanship and delicious taste. The Gipfeli, often compared to croissants, is a staple in Swiss bakeries. Yet, it carries its distinct features and flavors. Ideal for breakfast or a midday snack, these pastries embody simplicity and elegance in every bite.
A Brief History of Gipfeli
Originating from Switzerland, Gipfeli holds its place as a beloved breakfast treat. The delicate pastry, traditionally handmade, was introduced in the 19th century and quickly became a staple. Over time, its popularity spread across Europe, admired for both its taste and the skill required to perfect its flaky layers.
Preparing Gipfeli at Home
Creating Gipfeli at home can be both rewarding and enjoyable. While the process requires some patience, the outcome is well worth the effort. The following guide breaks down the steps into manageable parts to help you whip up these delightful pastries with ease.
Essential Ingredients for Gipfeli
Before you start crafting your Gipfeli, gather the following ingredients:
- All-purpose flour – 500 grams
- Unsalted butter – 250 grams, chilled and cut into cubes
- Milk – 250 ml, lukewarm
- Sugar – 50 grams
- Salt – 1 teaspoon
- Yeast – 10 grams of fresh or 5 grams of active dry yeast
- Egg – 1, beaten for brushing
Step-by-step Instructions
- Prepare the Dough
In a large mixing bowl, combine the flour, sugar, and salt. Mix well to ensure the ingredients are evenly distributed. Then, gently warm the milk and dissolve the yeast in it, setting aside for about 10 minutes until foamy. - Incorporate the Butter
Using a pastry cutter or your fingertips, incorporate the chilled butter cubes into the flour mixture until it resembles coarse crumbs. The butter should remain cold to achieve the desired flakiness in the pastry. - Combine and Knead
Pour the yeast mixture into the flour blend, stirring until the dough begins to come together. Transfer to a floured surface and knead gently until smooth, taking care not to overwork the dough. - Chill the Dough
Form the dough into a ball and wrap it in plastic wrap. Allow it to rest and chill in the refrigerator for at least an hour. This step is crucial for developing the texture.
Shaping the Gipfeli
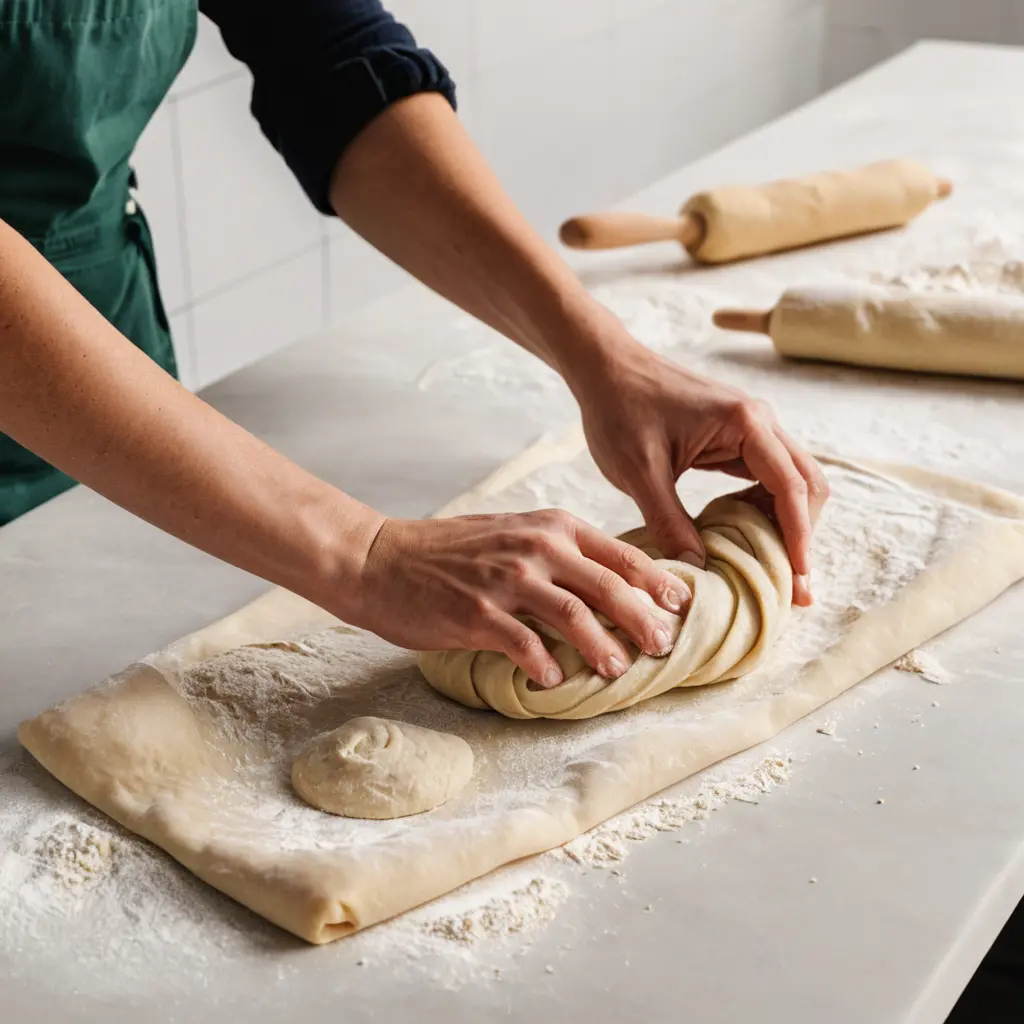
When the dough is ready, unwrap and place it on a floured surface. Roll it out to a rectangle about 5mm thick, then fold it into thirds as you would a letter. Rotate the dough and roll out again, repeating the folding process twice more. This technique creates the layers that make Gipfeli so special.

Layering the dough is crucial for creating flakiness in these pastries.
Baking to Perfection
Once the Gipfeli are shaped, it’s time to bring them to life in the oven. Preheat the oven to 200°C (392°F). Arrange the pastries on a baking sheet lined with parchment paper, leaving space between each for expansion. Brush the tops with the beaten egg for a golden finish.
The Final Bake
Place the baking sheet in the middle of the oven. Bake the Gipfeli for 15-20 minutes, or until they puff up and turn golden brown. The enticing aroma will signal their readiness. Once baked, transfer them to a wire rack to cool slightly before indulging in their buttery deliciousness.
Enjoy these homemade Swiss delights fresh out of the oven, and embrace the tradition and taste of Gipfeli in every bite.
Final Preparation and Baking
Once your dough has chilled adequately, it’s time to prepare for the final steps of the gipfeli recipe. Start by preheating your oven to 400°F (200°C) to ensure it’s hot and ready for baking your crescent-shaped delights. The patience you’ve shown so far is about to pay off as you mold these pastries into their signature shape.
Shaping the Gipfeli
Roll out the dough on a lightly floured surface, aiming for a large rectangle about 20×10 inches in size. This step is crucial for ensuring the gipfeli have the right thickness and crispness. Cut this rectangle into small triangles using a sharp knife or pastry cutter. The base of each triangle should be approximately 5 inches wide, tapering to a point.
- Tip: If you want the gipfeli recipe to yield a more traditional look, make sure those triangles are evenly sized to ensure even baking.
Start with the wide end of each triangle and gently roll toward the pointed end. Make sure to curve the ends slightly inward as you roll to form that classic crescent shape. Carefully place each shaped pastry onto a baking sheet lined with parchment paper.
Final Touches Before Baking
Lightly brush each gipfeli with a beaten egg. This step is essential as it gives the pastries a beautiful golden sheen and a slight crunch upon baking. For an added touch of flavor and texture, sprinkle some granulated sugar or sliced almonds on top.
- Tip: If you prefer a savory twist, consider adding a sprinkle of cheese or herbs in place of sugar.

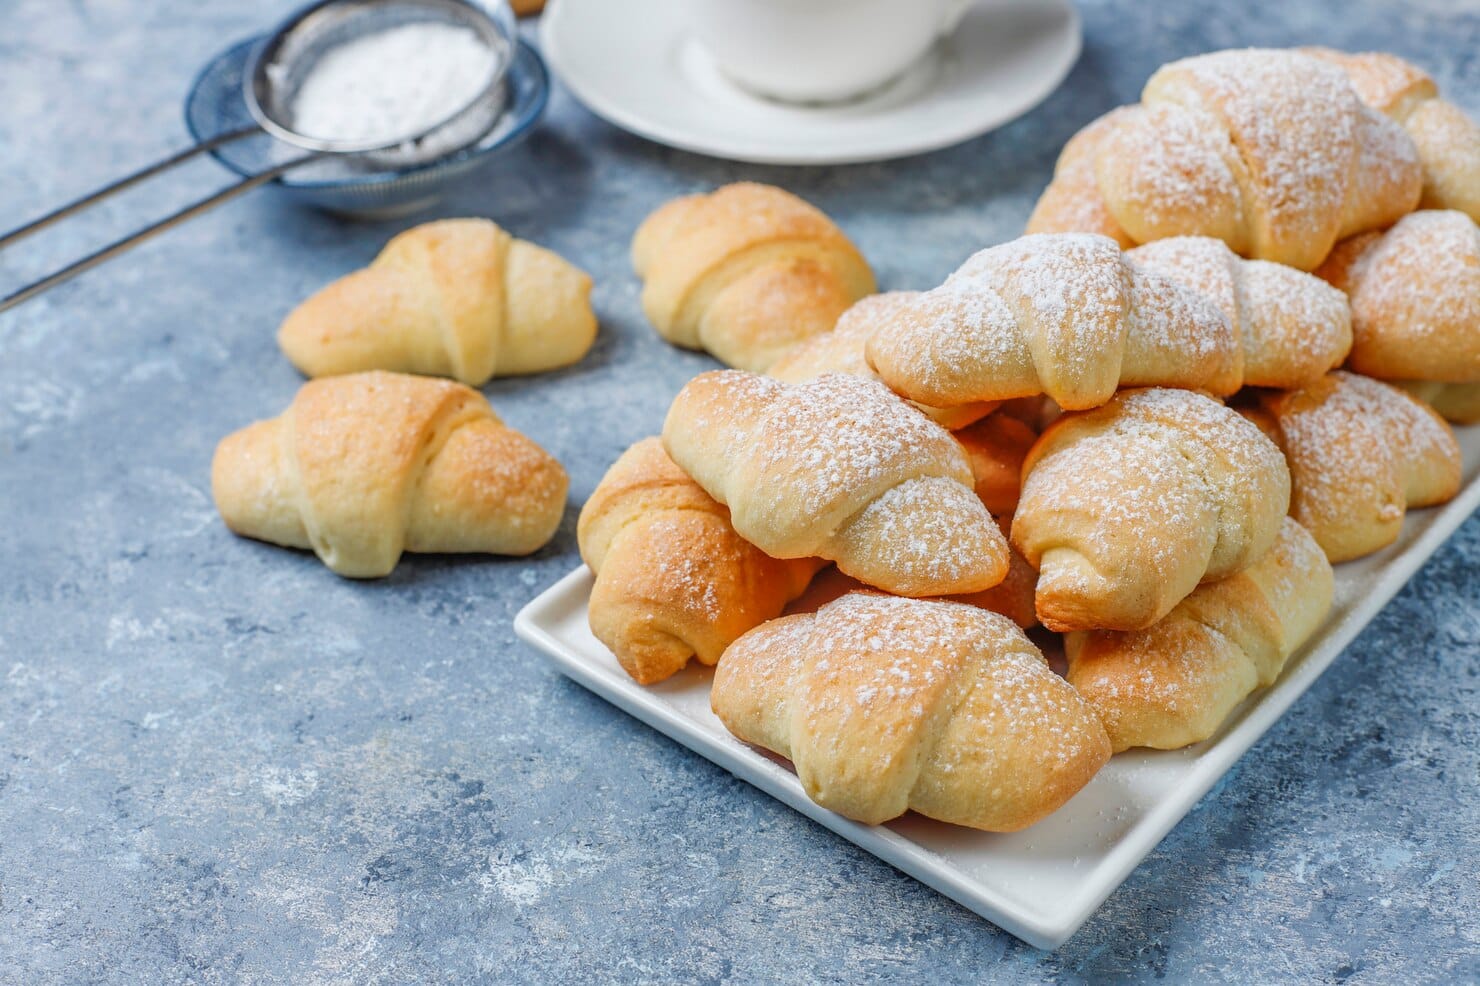
Your Swiss crescent pastries are ready
Baking to Perfection
Place your baking sheets in the preheated oven and let the gipfeli bake for about 15 to 20 minutes. You’ll know they’re ready when the pastries puff up and turn a deep golden brown. Pay attention to the baking time; depending on your oven, you might need to rotate the sheets halfway through to ensure that they bake evenly.
Once baked, transfer the gipfeli to a wire rack to cool slightly. This cooling period allows the pastries to firm up a bit while still retaining their delightful flakiness.
Enjoying Your Homemade Gipfeli
Now that your Swiss crescent pastries are ready, it’s time to enjoy them. These flaky treats are best served warm and can be savored on their own or with a spread of butter or jam.
These pastries are perfect for breakfast or an afternoon snack, and they pair excellently with a cup of coffee or tea. With this gipfeli recipe, you can bring a taste of Switzerland right to your kitchen. Whether you choose to enjoy them sweet or add in a savory note, these pastries are sure to delight.
So next time you seek a touch of elegance in your baking, remember this gipfeli recipe and enjoy the simple pleasure of creating something delicious from scratch.
FAQs
What is the origin of the gipfeli recipe?
The gipfeli, a Swiss variant of the croissant, originates from Switzerland’s German-speaking regions. It’s a popular breakfast pastry known for its flaky texture and buttery taste.
Can I freeze the dough for later use?
Yes, you can freeze the gipfeli dough. After the initial rise, shape the dough and freeze it on a tray. Once frozen solid, transfer to an airtight container. Bake directly from frozen, adding a few extra minutes to the baking time.
How is a gipfeli different from a croissant?
While both are buttery pastries, gipfelis are typically smaller, slightly sweeter, and less flaky than French croissants. They often have a more rounded shape as well.
What are some common fillings for gipfelis?
Gipfelis can be enjoyed plain or filled with ingredients like chocolate, almond paste, or cheese. For a savory twist, try ham and cheese or mushroom fillings.
Can gipfelis be made vegan?
Absolutely! Substitute butter with a plant-based alternative and use almond or soy milk instead of regular milk. Ensure any fillings are also vegan-friendly.
Practical Tips
- Use High-Quality Ingredients: For the best flavor and texture, use high-quality butter and flour. Fresh yeast will also contribute to a better rise and taste.
- Perfect the Dough Technique: Take the time to properly laminate your dough. Achieving the right number of layers is key to a flaky gipfeli.
- Temperature Control: Keep the dough cool throughout the preparation process to prevent the butter from melting. This preserves the pastry’s flaky layers.
- Experiment with Flavors: Once you master the basic gipfeli recipe, try experimenting with unique fillings like Nutella or pesto for a modern twist.
- Plan Ahead: If preparing for a special occasion, make and shape the dough the night before. Let them rise in the fridge overnight for freshly baked pastries in the morning.
Conclusion
Embarking on the journey of making a gipfeli recipe from scratch can be a fulfilling culinary adventure, where patience and technique merge to produce a truly delightful pastry. As we’ve explored, gipfelis, synonymous with Swiss mornings, offer a harmonious blend of buttery layers and subtle sweetness, setting the tone for any day with perfection. By understanding the origins, experimenting with flavors, and mastering the art of pastry-making, you can transform simple ingredients into a breakfast masterpiece that’s bound to impress your loved ones.
In today’s fast-paced world, taking the time to craft something as intricate as a gipfeli allows a moment of culinary mindfulness. Each layer you roll out and every fold you make brings a sense of accomplishment and connection to Swiss tradition. Considering the tips and FAQs we’ve provided, you’re now equipped with the knowledge to tackle potential challenges and indulge in the creative process.
For those eager to dive deeper into culinary delights, why not explore unique recipes like the cranberry Moscow mule mocktail or the comforting Parmesan chicken pasta bake on Helper Recipes? The world of cooking offers endless exploration opportunities, bringing joy and flavor to your kitchen.
Feel inspired? Share this gipfeli journey with friends and family or leave a comment about your own pastry adventures. Happy baking!
